I’ve been camping my entire life, mostly with my family in our RV. Now that’s fun and a great way to travel but about two years ago I really began camping with my friends. You know, straight up camping in a tent outside with a campfire. “Real” camping as some people like to call it. I freaking fell in love with car camping! Setting up the tent, sleeping on the floor, not showering, it’s awesome! For real, tent camping just has an element that RVing can’t capture. Now don’t get me wrong, an RV is great for longer road trips but I love a good ol’ fashioned tent when I can.
With my new love for camping I needed a vehicle that could accommodate me on my trips. So I traded in my hot rod Dodge Challenger for a Jeep Patriot. It’s not quite as fast but it’s just as cool and it looks good dirty. I’ve always loved building things so my mind quickly began thinking of ways to equip the Jeep better for camping. After a lot of thought I decided on a few elements that I had to have when car camping:
I needed a kitchen that was easy to access. I hated digging through all my equipment to get the stove and the serving utensils and everything needed just to make some pasta. Everything had to be organized and easy to access.
Storage for food had to be right next to the kitchen so I could stand in the back and have everything I needed.
I didn’t want to bring the huge plastic camping bucket that everybody has. Instead, I needed something more organized that was easier to access.It all had to be quickly removable. Sometimes you don’t get a campsite with a convenient parking spot. For those occasions I wanted to be able to move my equipment to the campsite.
There had to be little to no setup or breakdown time. I wanted it always available whenever I needed it.
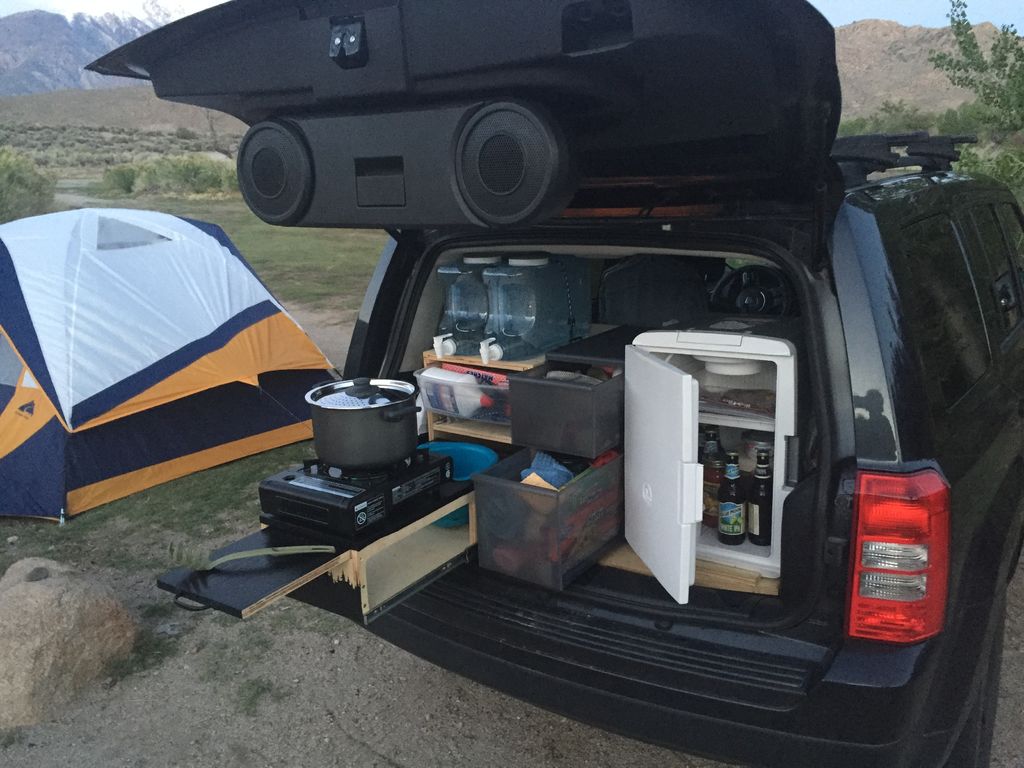
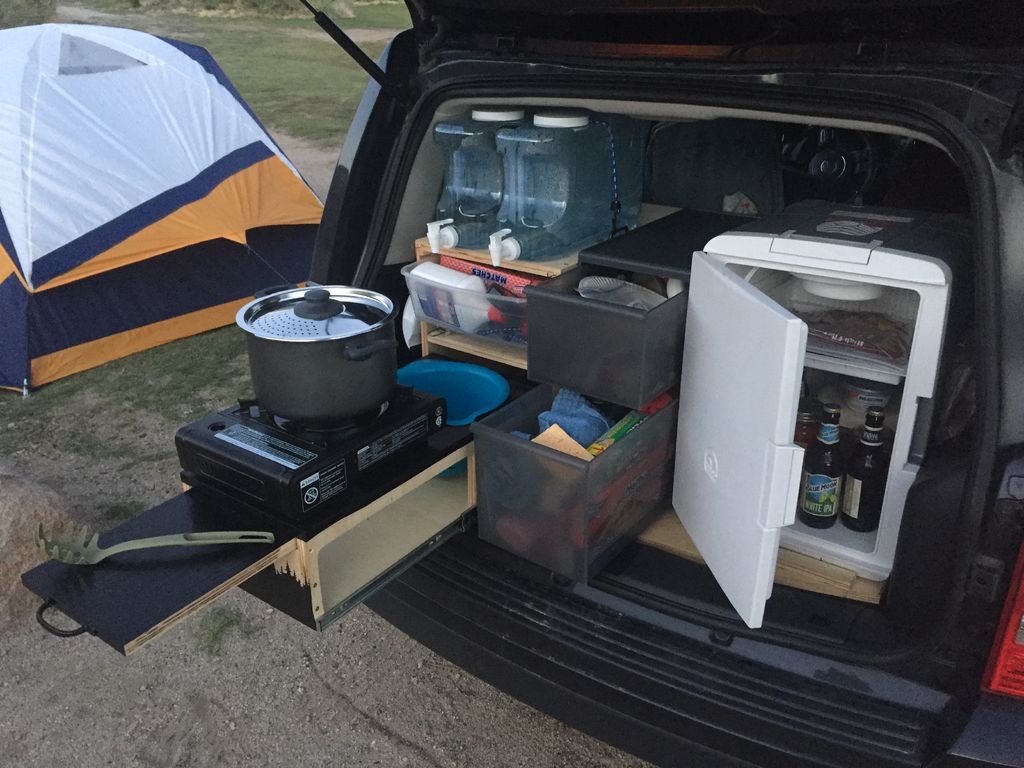
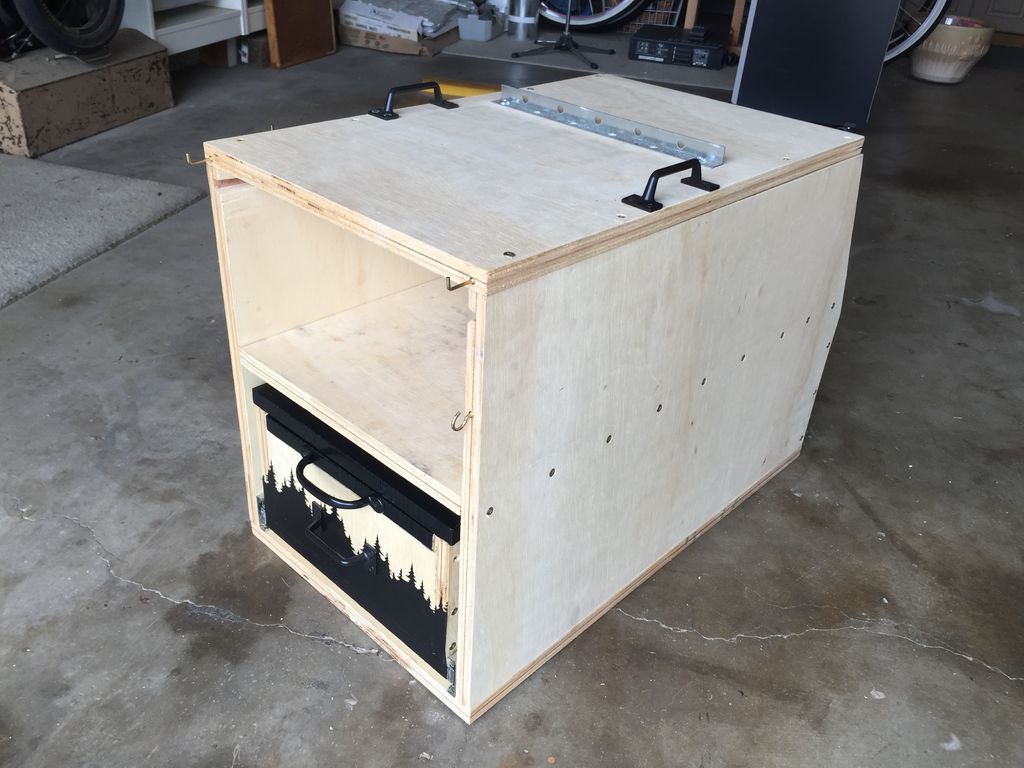
After drawing up a few different plans I settled on a design and got to work. This is what the finished product consists of:
- A fridge (really just an iceless cooler plugged into a cigarette lighter)
- Two drawers for storage
- A sink with running water (really just a salad bowl and water jugs)
- Counter space
- Storage for my stove
- Storage for a pot and pan
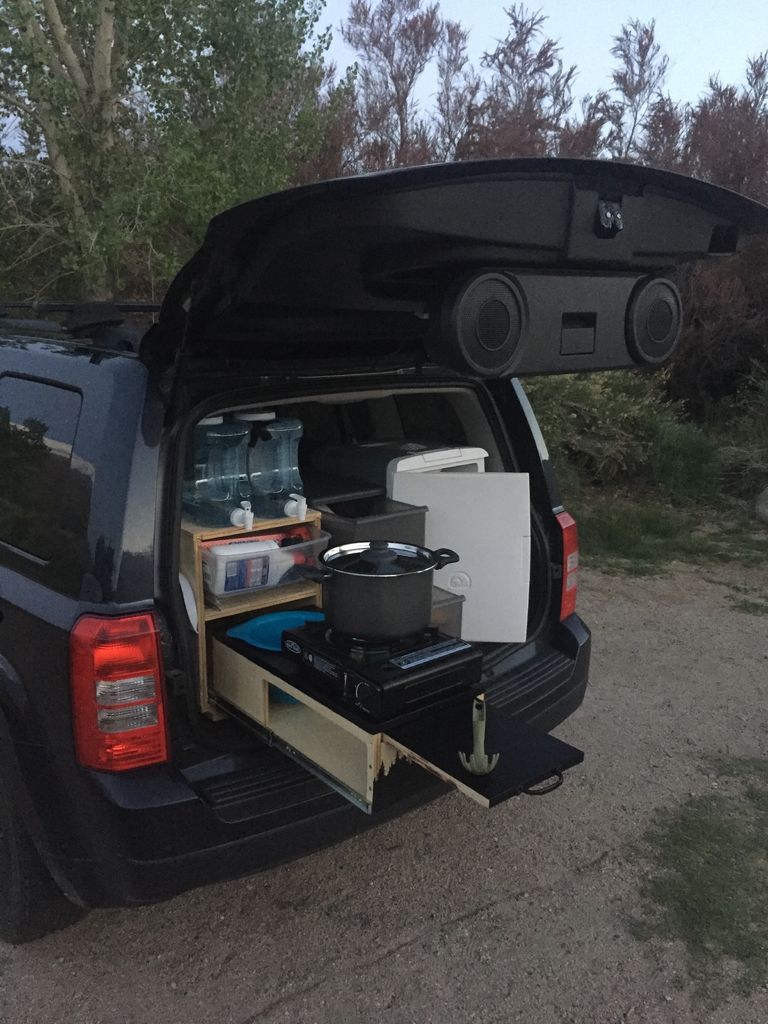
I can take everything out in less than a minute and have my trunk completely cleared. It’s all super secure and doesn’t shift around while driving. I’ve even done a bit of off-roading and had no problems. It doesn’t even rattle or squeak which I’m amazed by. I’ve taken it on a few trips already and it works great!
I just bought the two drawers and fridge but I built the entire unit on the right side. So I’ll be showing you how to build that. I probably should’ve been documenting with photos as I went along but it’s a pretty simple build so I’ll walk you through it. I had never really built any drawers or cabinets before this and I had no problems so you can do it too.
Let’s go!
Please note that affiliate links are used whenever possible.
Step 1: Parts List
- 1/2″ or 3/4″ plywood or solid wood if you can afford it (I used almost an entire 4′ x 8′ sheet)
- Two 2.5 gallon water jugs
- Plastic mixing bowl for the sink (I got mine at Ikea)
- Adhesive Vinyl (to cover the plywood for the counter top)
- Heavy duty drawer slides
- Like-It modular drawers (I got a tall medium drawer and a short medium drawer)
- Iceless Cooler (I also got this 120 volt adapter which is handy)
- Motion Activated LED light (super handy for at night)
Some of the Supplies I Use:
- Portable Butane Gas Stove
- Plastic mallet
- Aeropress Coffee Maker (My favorite way to make coffee while camping)
- Hand Coffee Grinder
- Get all your small kitchen supplies from the 99 cent store. They have everything! And it’s 99 cents!
- I got my pots and pans from Ikea
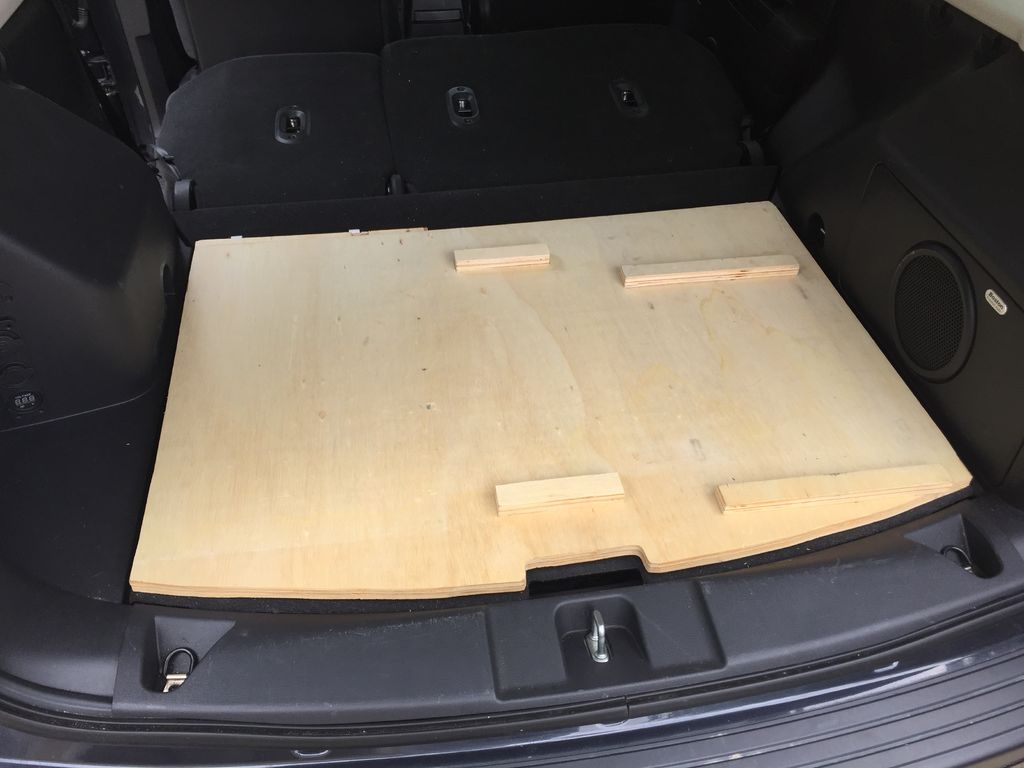
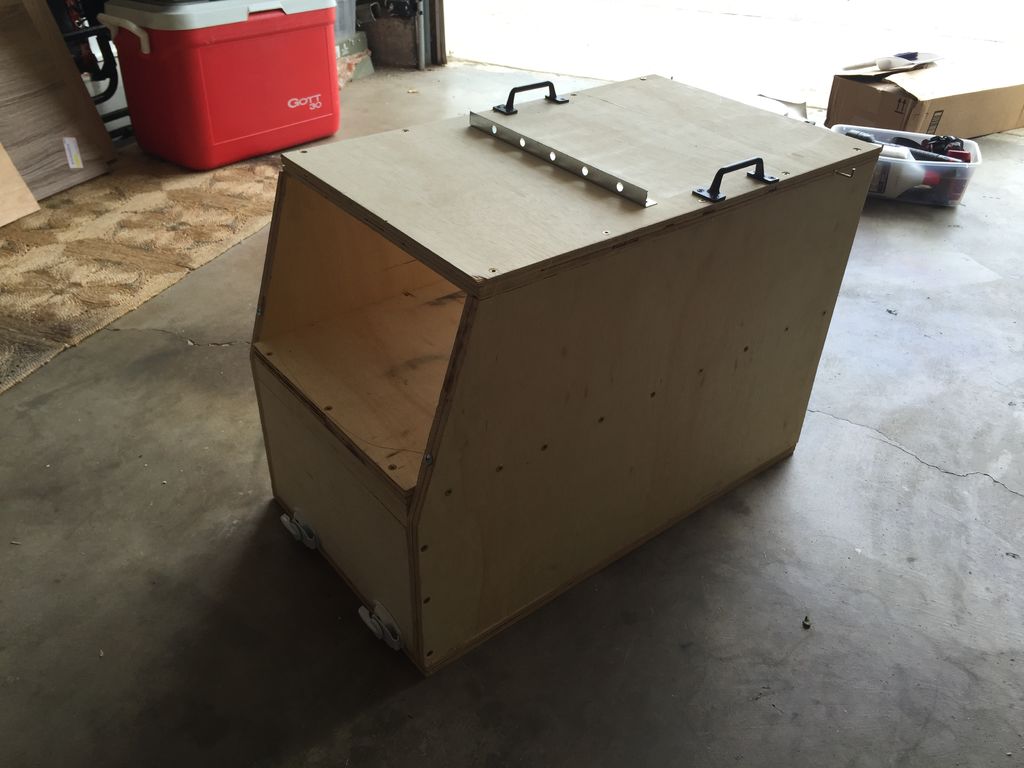
Step 2: Building the Base
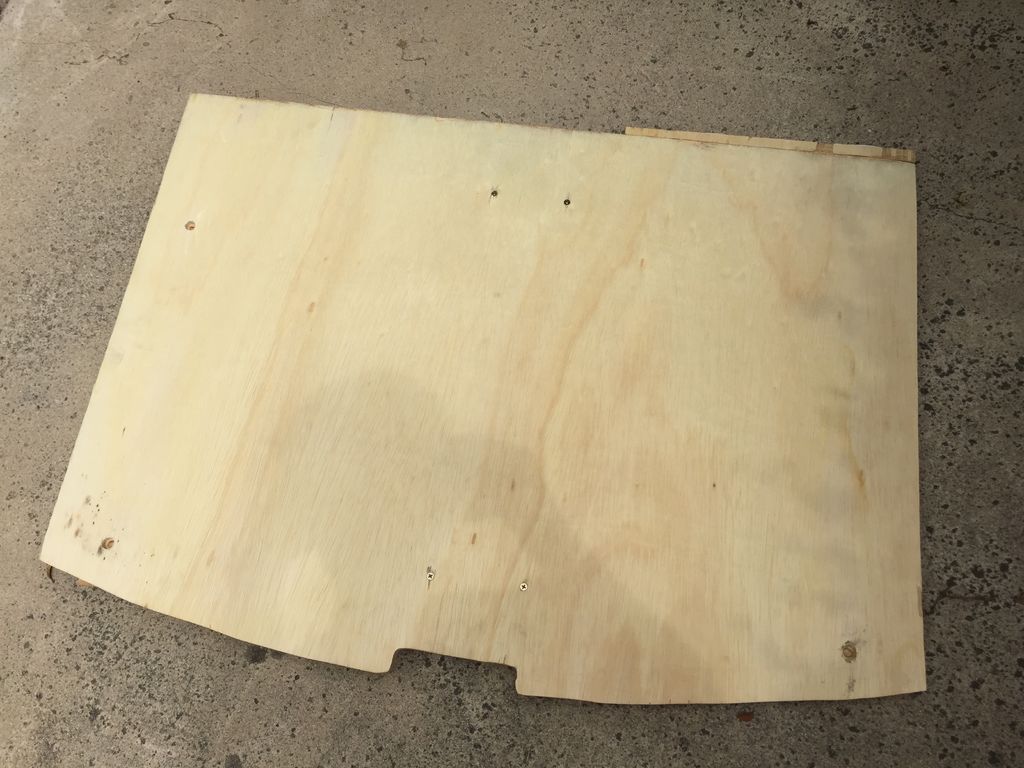
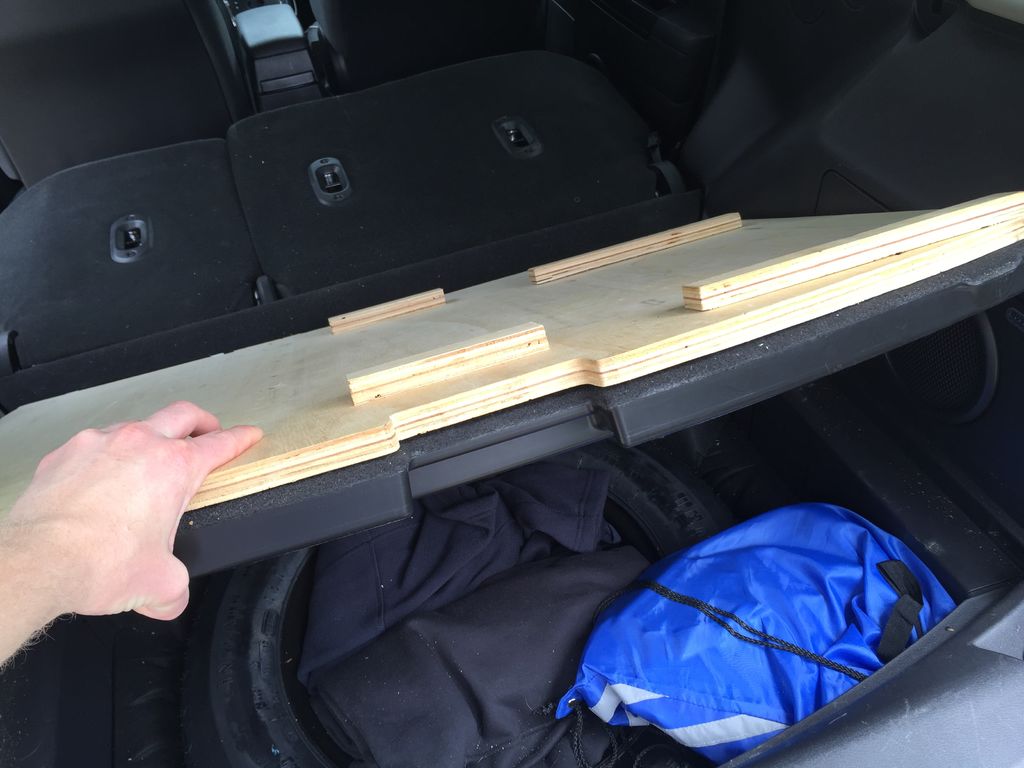
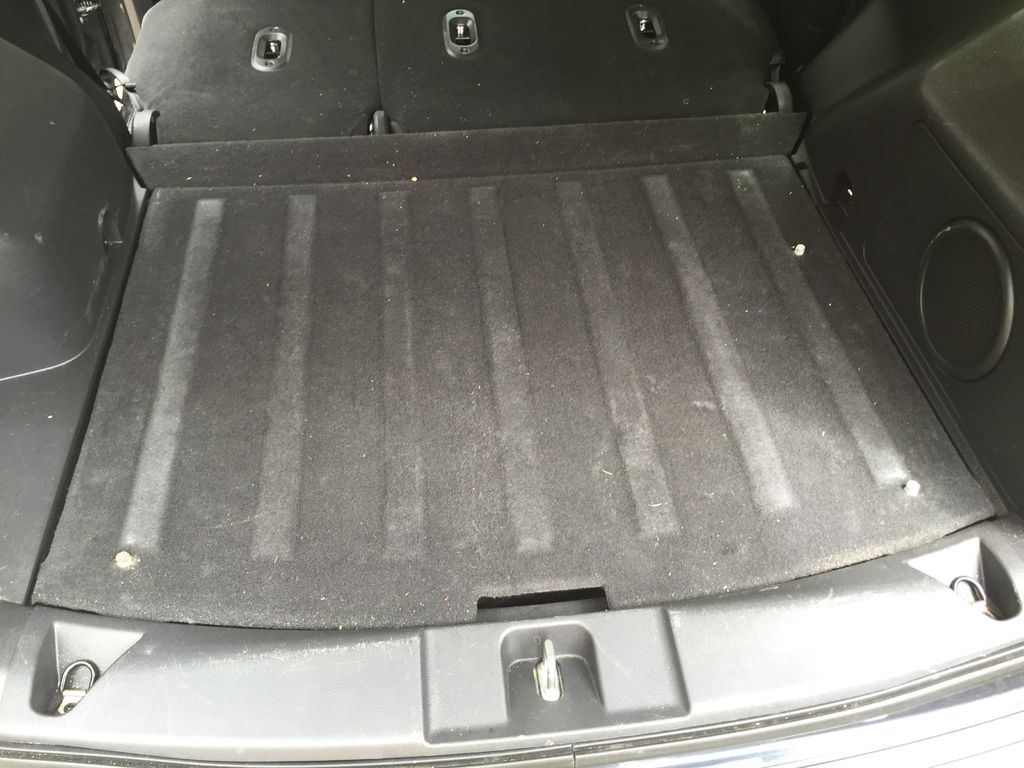
Begin by cutting a piece of plywood into the shape of the floor of your trunk.
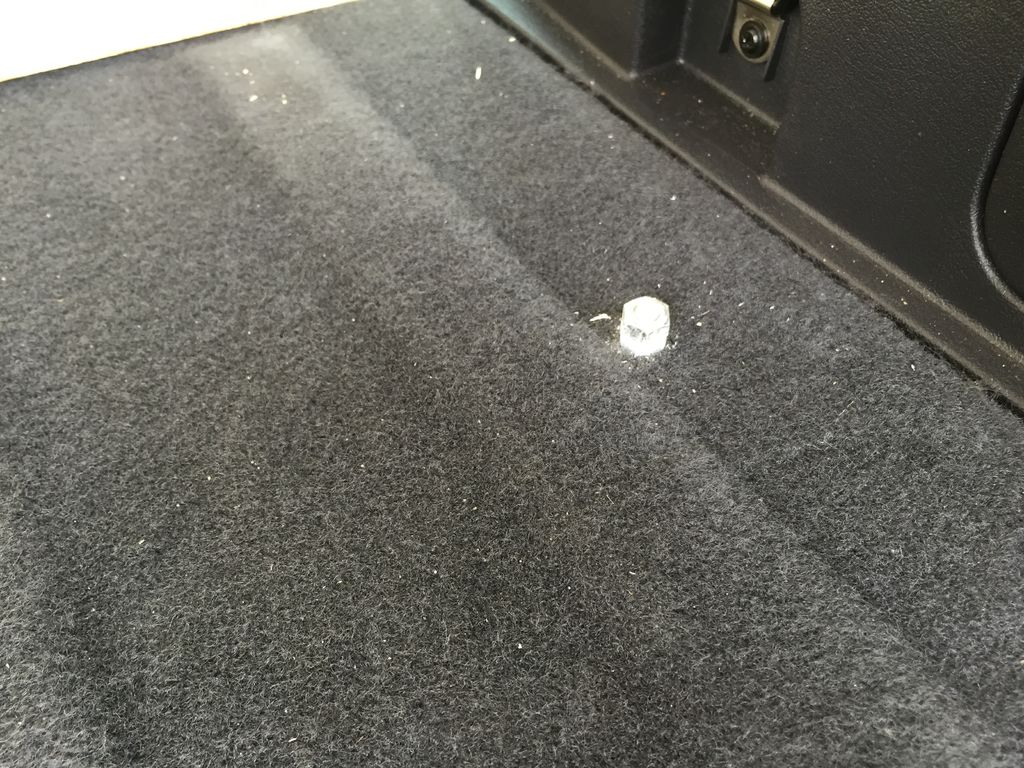
Next we’re going to secure the plywood to the floor but also make it easily removable. To do this, begin by drilling through 3 or 4 spots in your floor. Place a bolt through each hole and secure it with 2 nuts facing up.
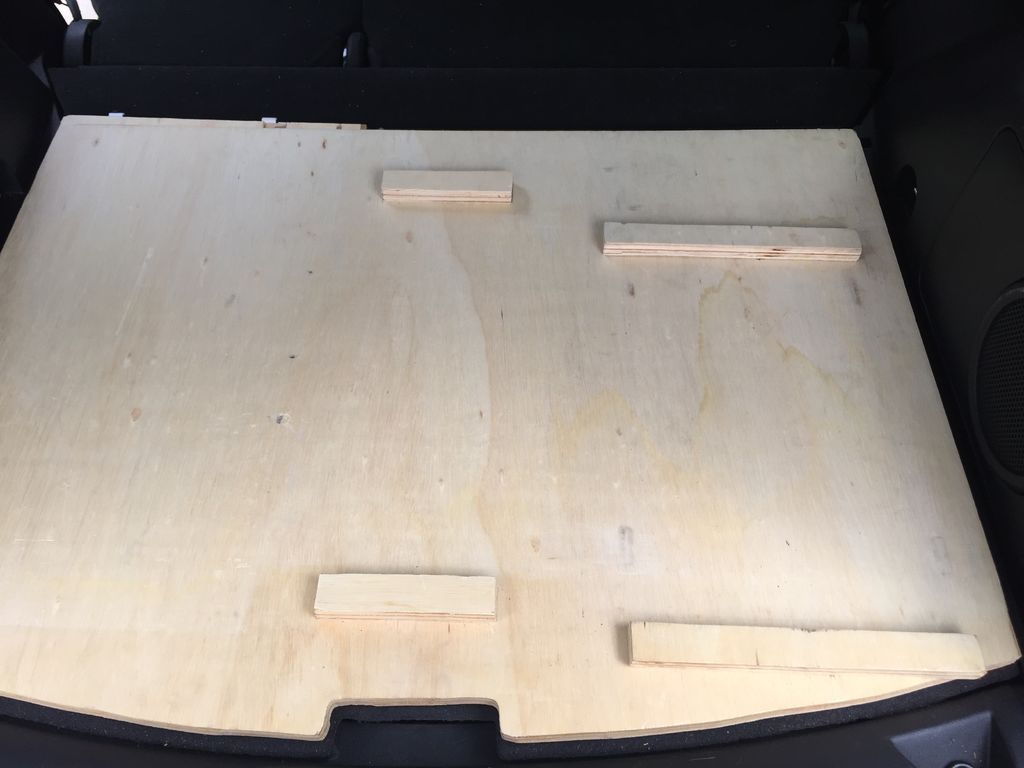
Next drill holes that are slightly bigger than your nuts (HA) on the underside of the piece of plywood. Make sure that they line up with the nuts in the floor of your car.
Step 3: Secure the Fridge and Drawers
Screw in a block of wood in front of and behind your fridge and drawers. This will prevent them from moving around while you’re driving.
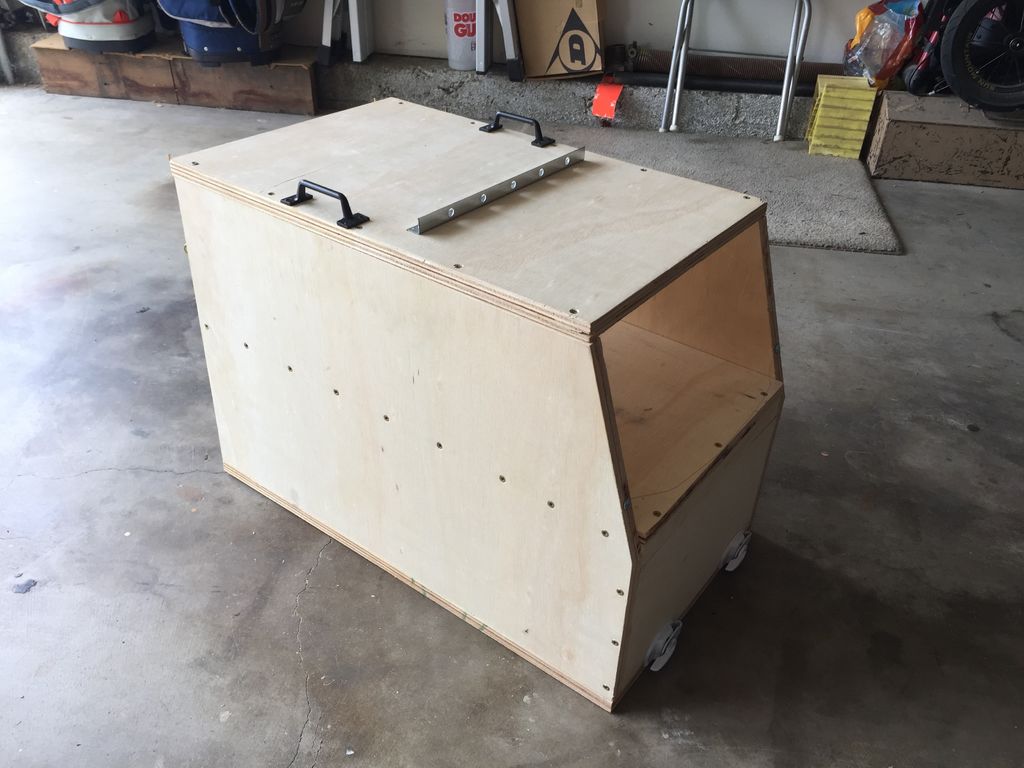
Step 4: Build the Frame
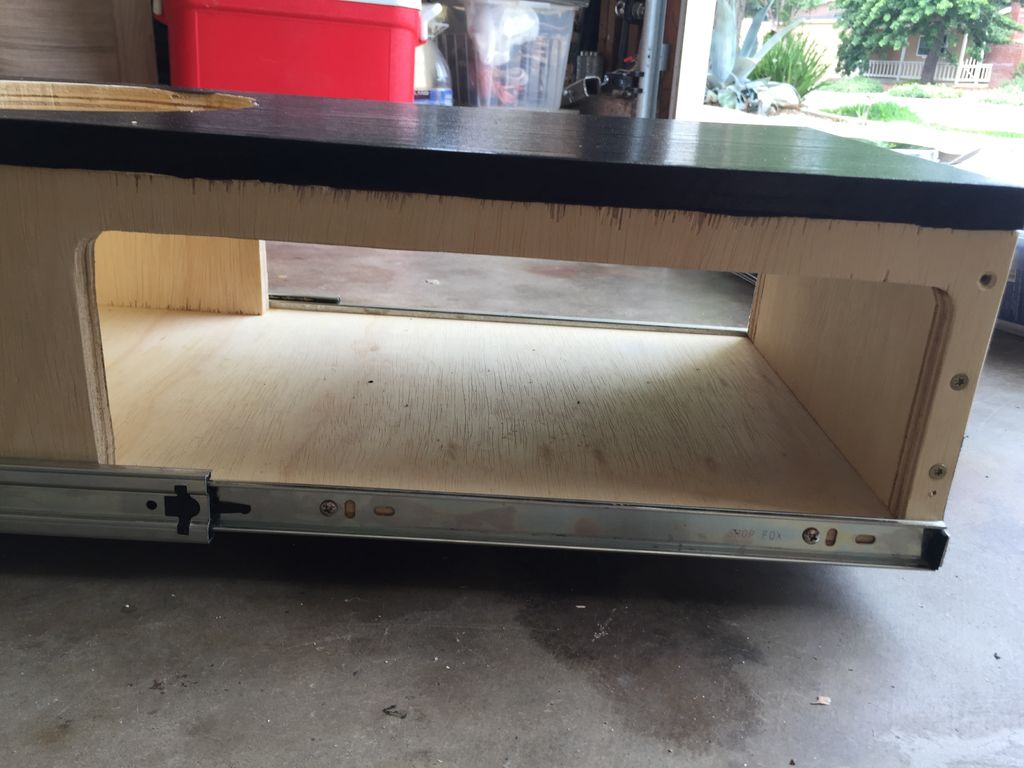
Now you can begin building the frame to hold the drawer that you’re going to build. It’s pretty straightforward; just refer to the photos below. Also, make sure to measure for everything very carefully to figure out your dimensions. The width of your frame should fit exactly into the hole between your drawers and the side of your car. And the height should leave you enough room to put the water jugs on top.
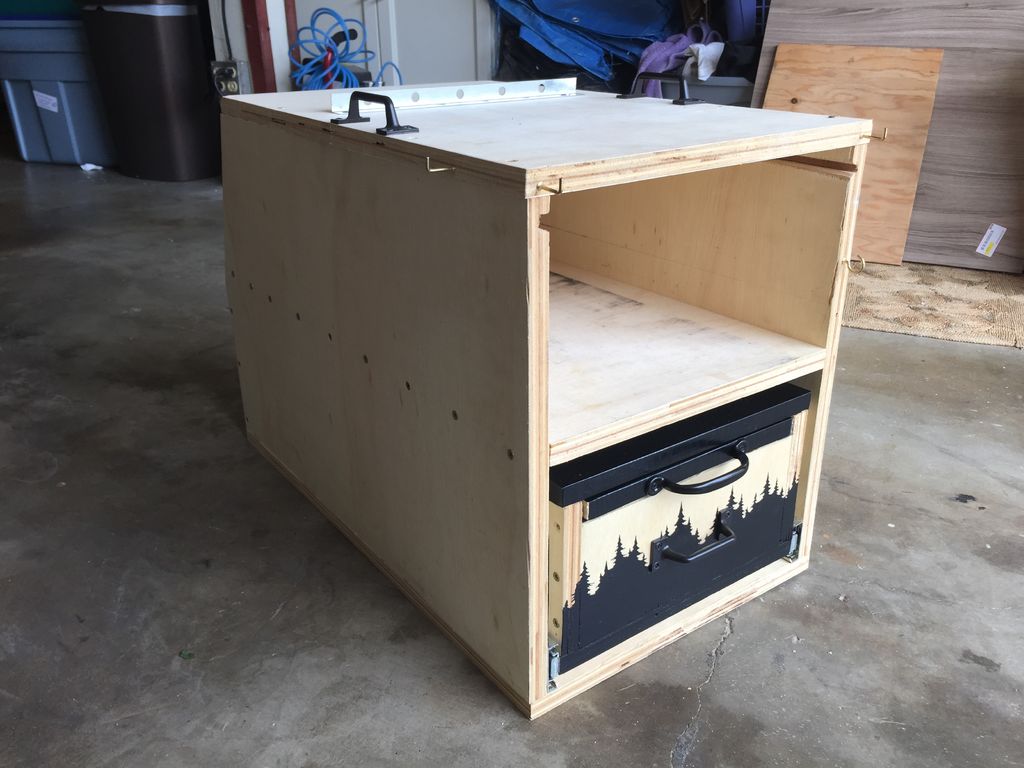
Step 5: Build the Drawer and Sink
Building the drawer is also pretty straightforward. Just refer to the photos below and use your best judgment. This was my first time building any sort of drawer and I didn’t take any classes or anything.
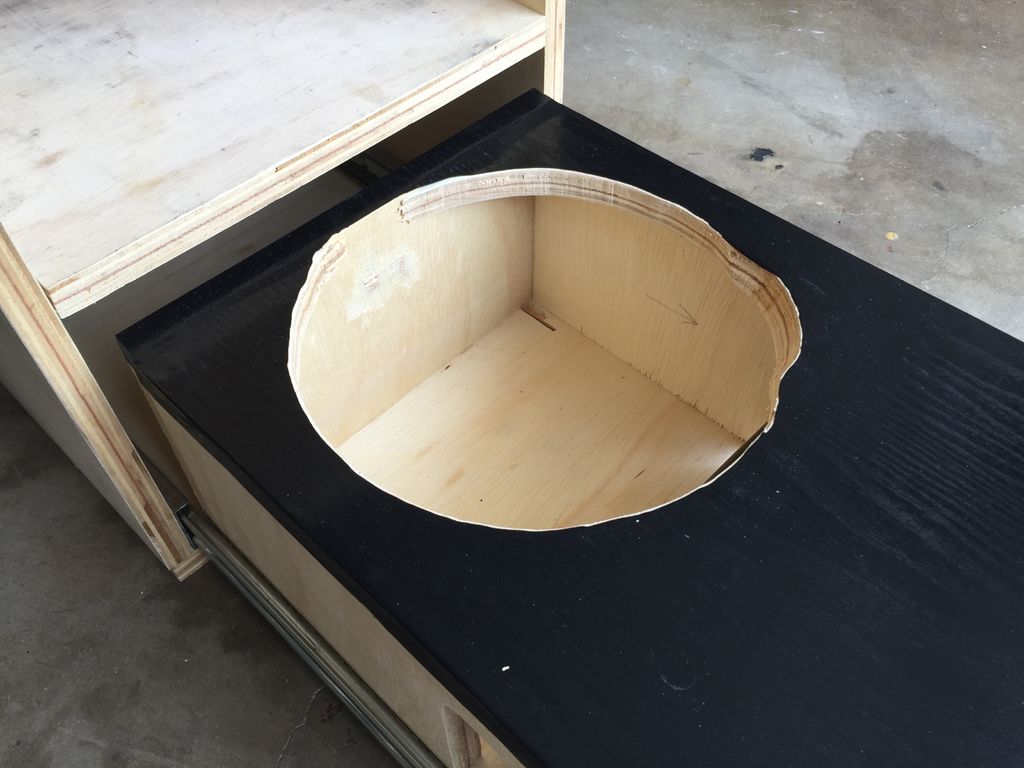
Cut a hole for the size of the salad bowl to fit in in the back top of the drawer. Don’t glue the bowl down or anything because when it fills up with water you can just pick it up and chuck the water to the side.
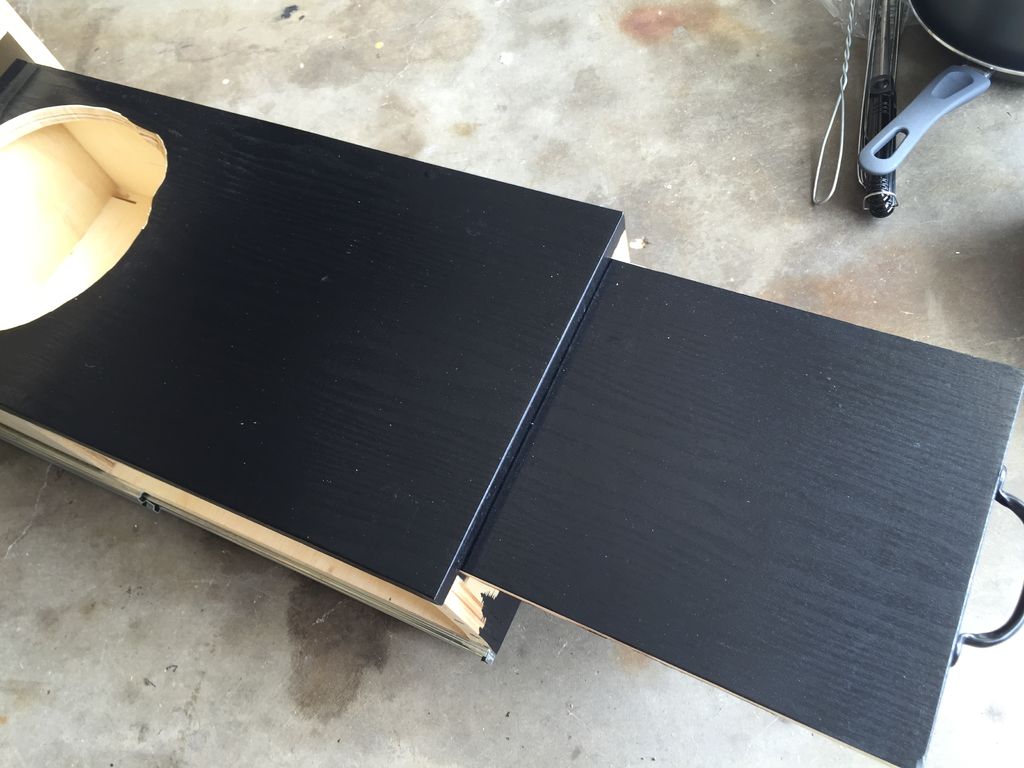
I also cut a space to slide my stove in and out for storage.
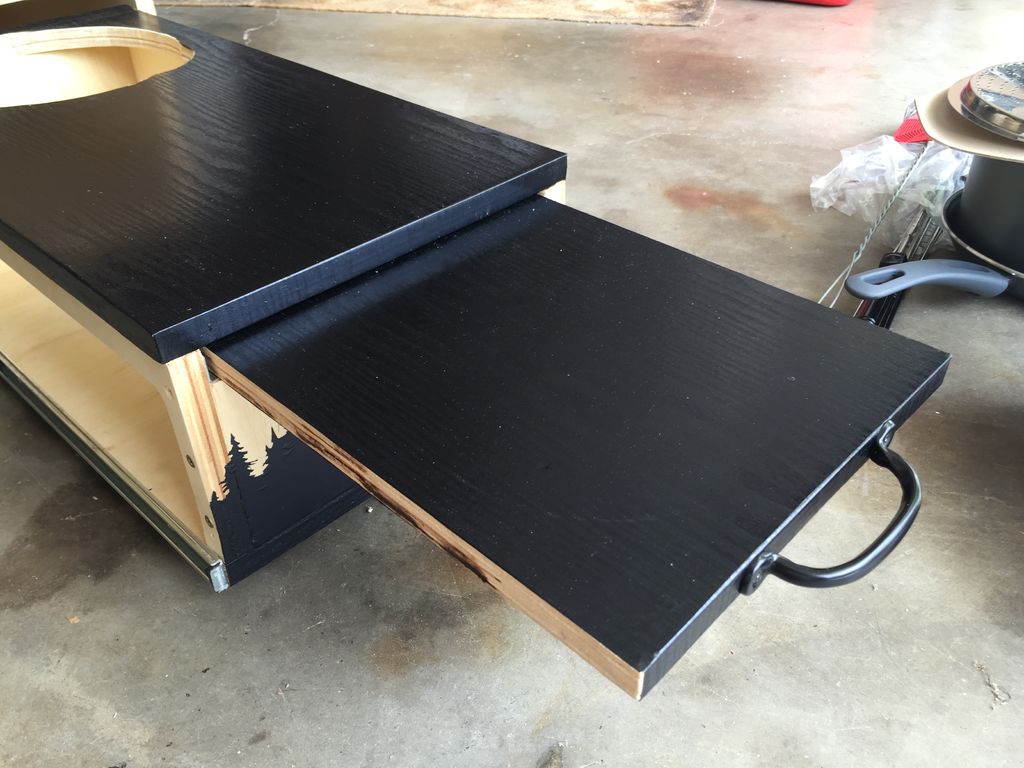
I installed a slide out piece for extra counter space. It works well and is very sturdy but if I did it again I would do a counter that flips out instead of slides. This would give you even more counter space. Let me know if you try this instead!
Install the drawer slides and put it all together.


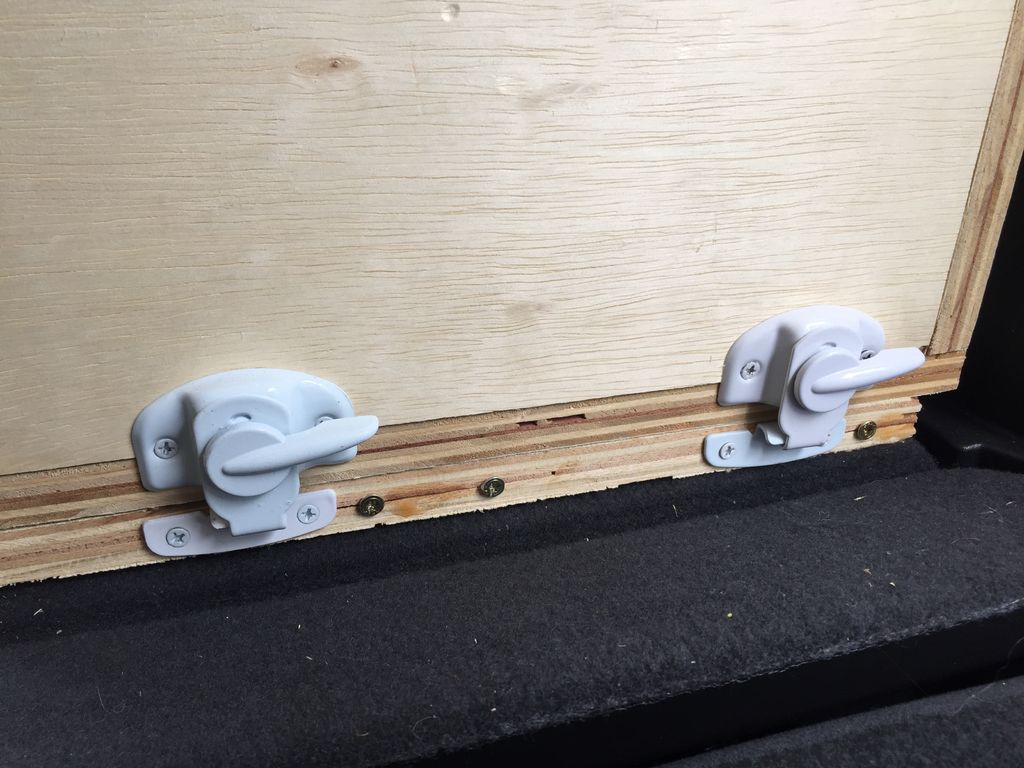
Step 6: Secure It
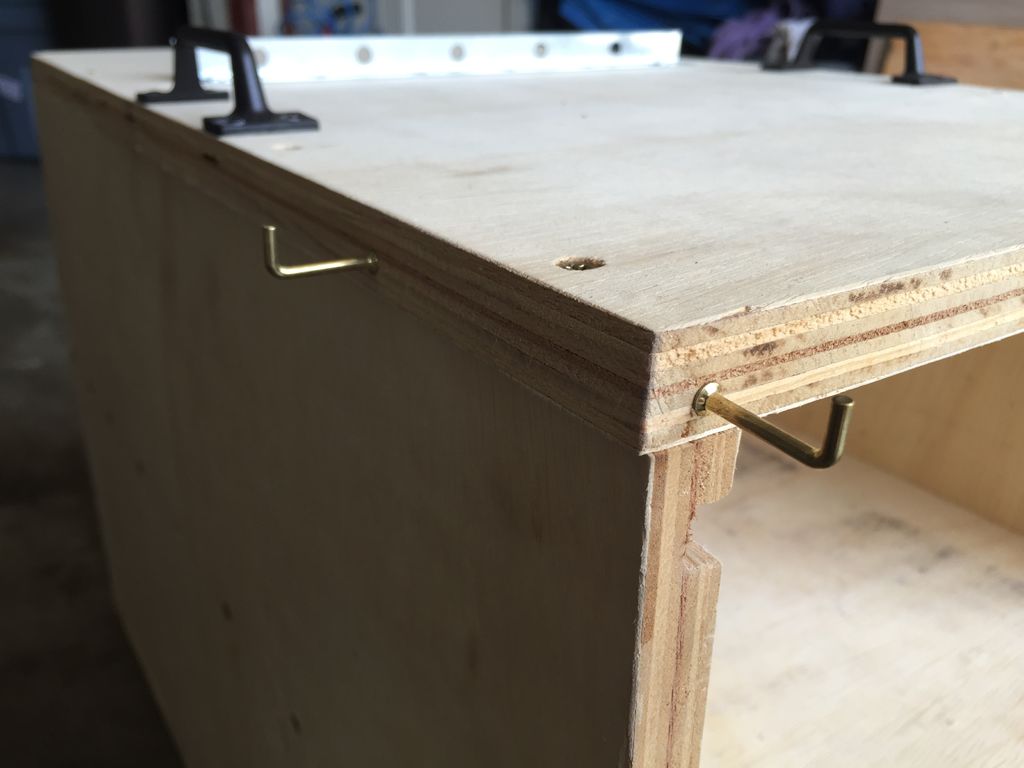
Secure the big cabinet by using latches on the
back. This keeps it from moving around and also ensures it won’t flip up on you if you have a lot of weight on the counter top. I had to attach an extra piece of plywood to the base so it would all line up.
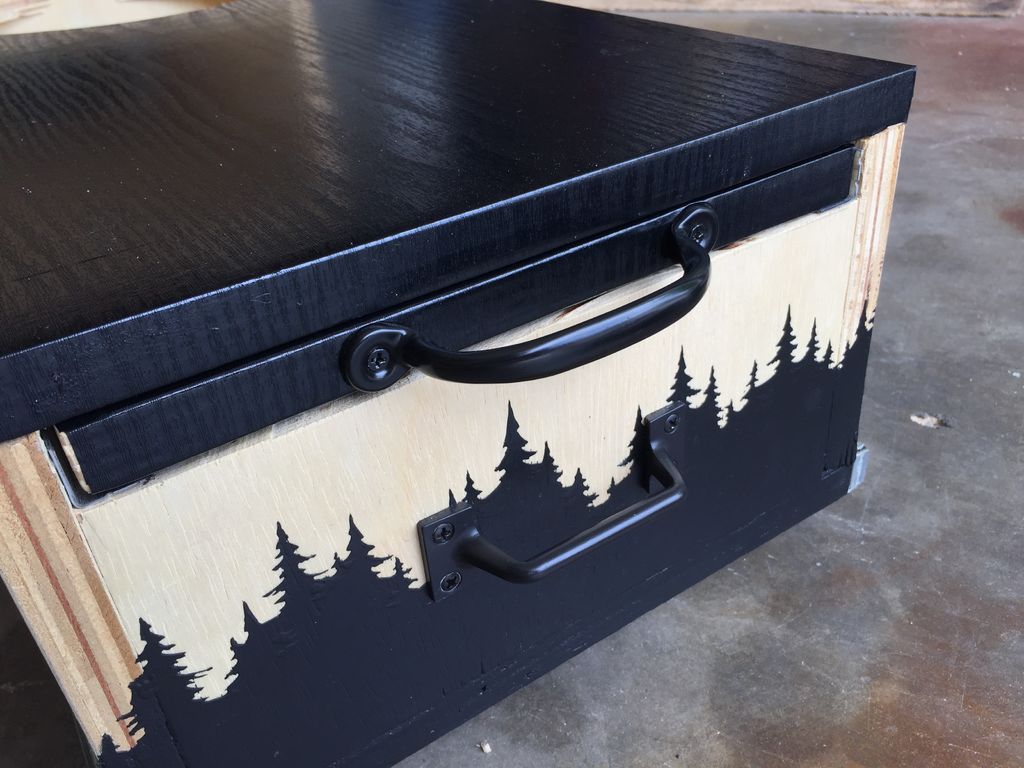
Step 7: Final Touches
Use vinyl to cover the plywood for your counter tops.
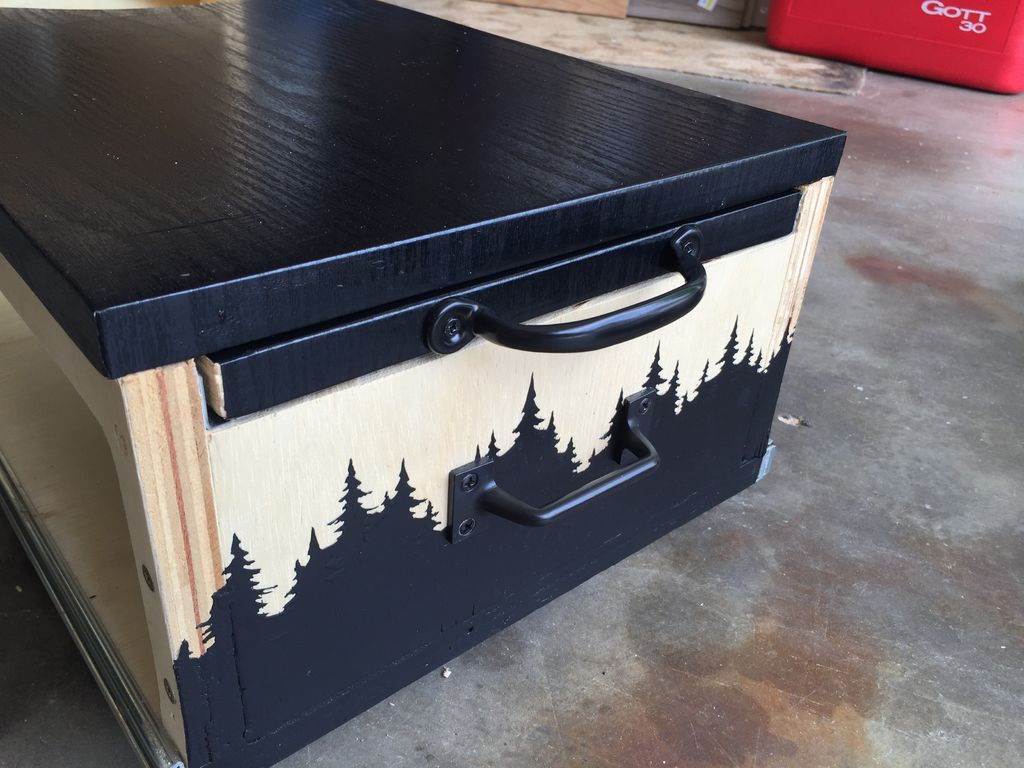
Attach handles to the drawer and slide out counter top.
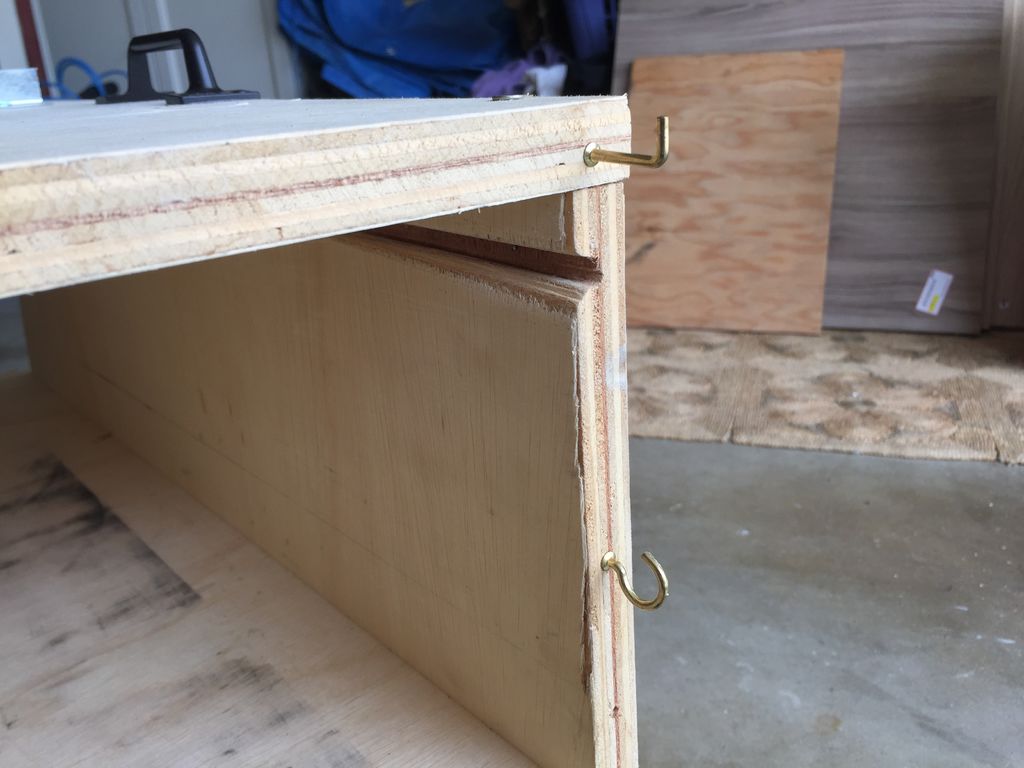
Install attachment points for a bungee to hold your water jugs in place.
Install various hooks to hang rags for drying or cooking utensils while using.
Stain the thing if you want (I didn’t take the time to) and paint some cool stuff on it (I did trees but I think a buffalo would be cool!)

Step 8: Enjoy!
Make sure you actually use this thing! Take it camping for a
weekend, a week, or a month.
Please let me know if you end up creating something like this; I’d love to see it! Get creative and change it up; there are a million different things you could do! Have fun!
-Travis